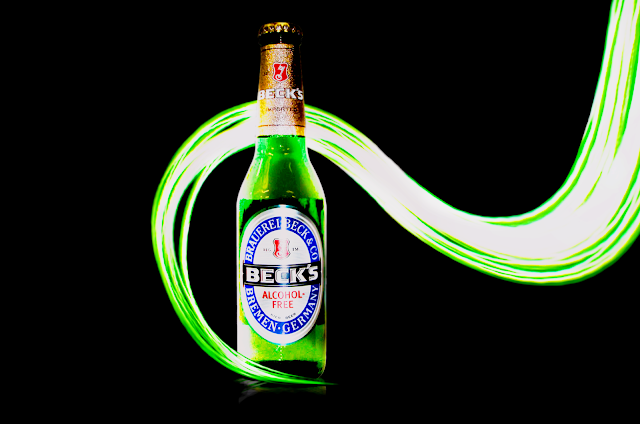
I'm going to experience Light Painting With Photoshop
1) Preparing laser ,tripod ,camera. Setting larger Aperture and lower Shutter Speed.
2) Switch off the light and start to take a photo.
3) During this period of time, draw a shape by laser.
Draw a shape by laser
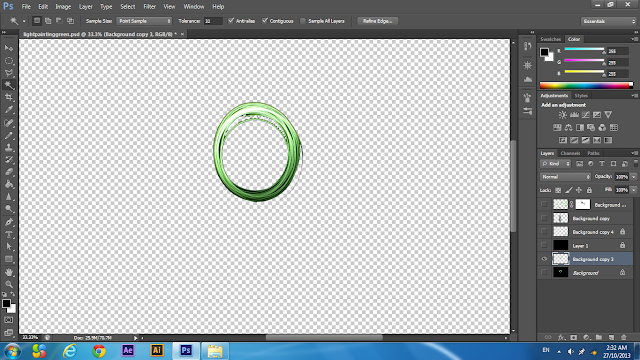
4) Import photo to Adobe Photoshop
5) Duplicate a layer and using Magic Wand Tool to remove background.
6) Open Free Transform mode to scale up the image.
7) Import image of drink.
8) Remove image of light to front layer and edit to Warp mode. Purpose to make it smoothly.
9) Add Vector Mask to layer of light and remove the unnecessary part of light by Eraser Tool (Tip: White colour to cover back layer to front layer but black colour to restore the layer).
10) Open Warp mode again to warp the light.
11) Duplicate a light from original image and rotate it. Add Victor Mask to remove unnecessary part.
12) Open Warp mode to warp the light.
13) Using a Dodge Tool to shine the alcohol drink with light.
14) Edit to Brightness and Contrast and adjust level of brightness.
15) Open a new layer and fill in black colour and transform to back. Purpose to making background.
16) Duplicate a alcohol drink with light and transfer to Blend Mode's Soft Light .
17) Duplicate again and rotate it. Purpose to making reflect of object.
18) Transfer to Flip Horizontal.
19) Lower the opacity of image.
20) Using Blur tool fogging the light.

Final outcome


No comments:
Post a Comment